Konica Minolta
Instructions on how to install Bizhub 368 in the Windows environment
Note: documents sent to be printed out shall be accessible both at the printer located in the main hall (ground floor) and at the printer on the 5th floor of building 4.
In the case of Windows XP, Microsoft.NET Framework version 2.0 will be required for the correct installation. To check whether you have it installed, please select Start --> Control Panel --> Add or Remove Programs and search for the program in the list of programs.
If Microsoft.NET Framework has not been installed on your computer, please download it from http://www.microsoft.com/pl-pl/download/details.aspx?id=18129 and install it.
MAIN INSTALLATION
- Download SafeQ Client - link for download
- Extract the file to the desired location, e.g. Desktop.
- Edit the SafeQ.ini file by typing your login in the line AuthText. To do that, put the first letter of your name and your full name.
Example:
For Jan Nowak please put: AuthText=jnowak
For Anna Nowak please put: AuthText=anowak
Save and close the file.
- In the case of Windows 10 please install .NET Framework 3.5 in the following way:
Control Panel -> Programs and features -> Turn Windows features on or off -> tick the box at .NET Framework 3.5 -> Install by following the prompts.
- Run Install.exe
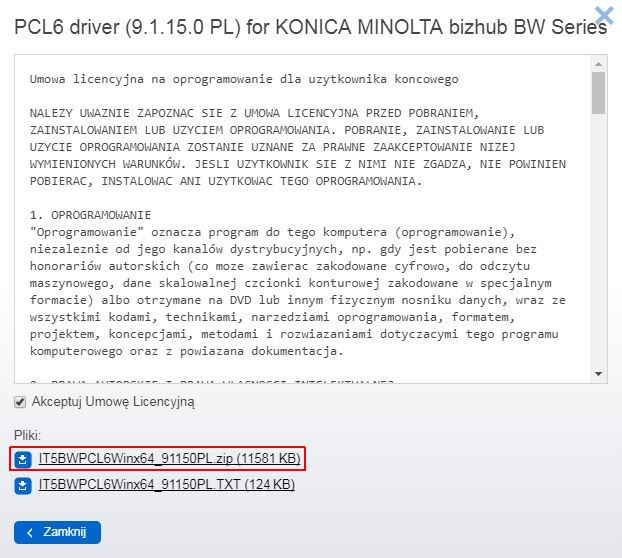
- Download the printer driver from this page:
https://www.konicaminolta.pl/pl-pl/support/centrum-pobierania
- Select the operating system (specify whether it is 32 or 64-bit)and language.

- Accept the User Agreement and download the driver file
- Extract the driver to the desired location, e.g. Desktop.
- Now let’s begin the main stage of the printer installation.
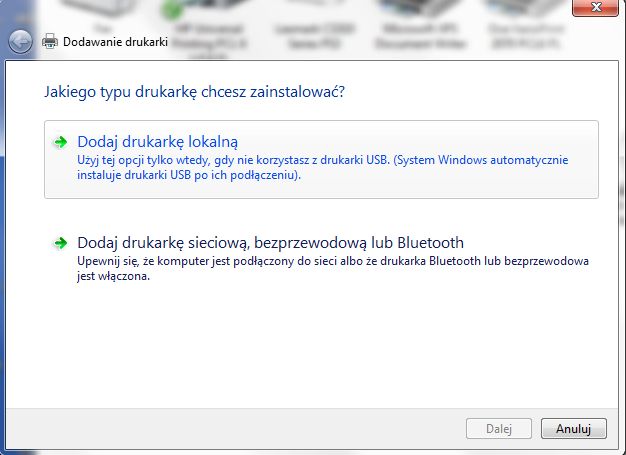
a) for Windows XP to Windows 8.1. – click the button:
Start (or Windows logo) --> Control Panel --> Devices and Printers
A new window will open: choose Add a printer, then Add a local printer
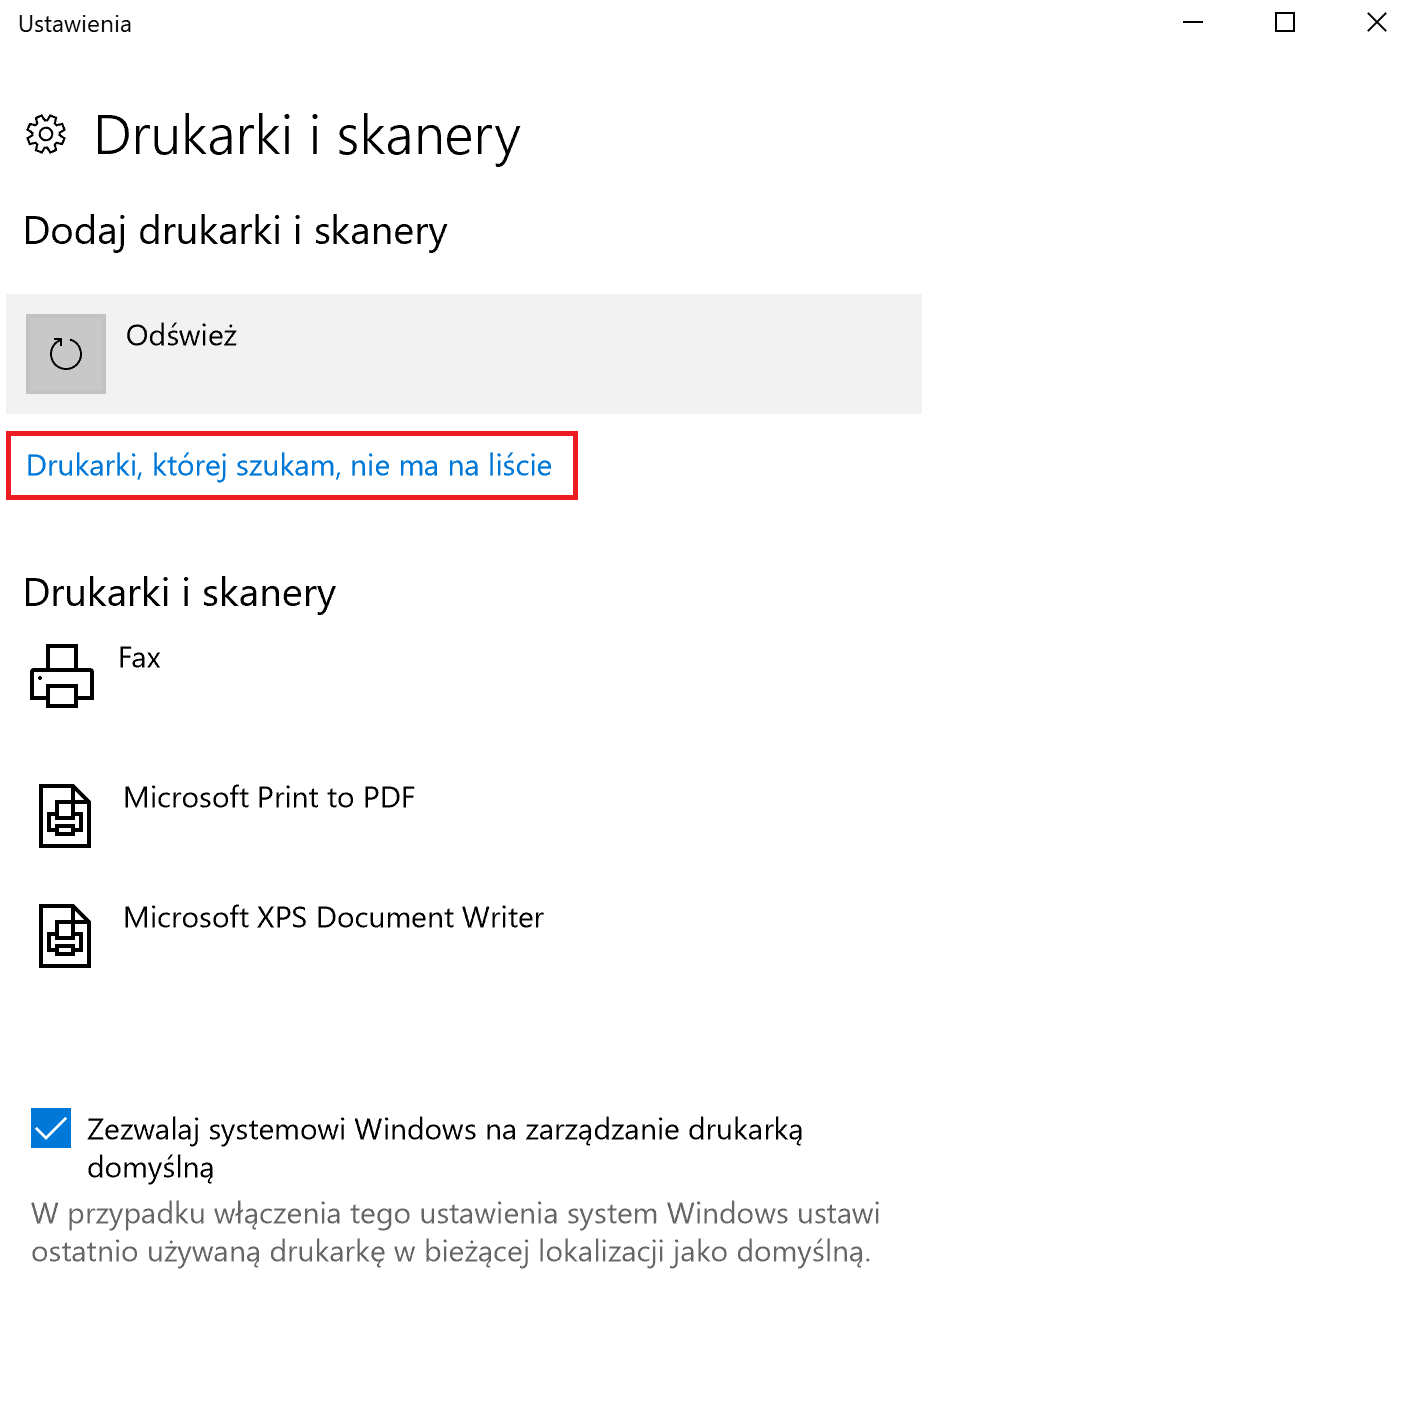
b) for Windows 10 – click the button
Windows Logo and type “Printers and Scanners”. When a new window appears, select “Add a printer or scanner” and choose “The printer that I want isn't listed”.
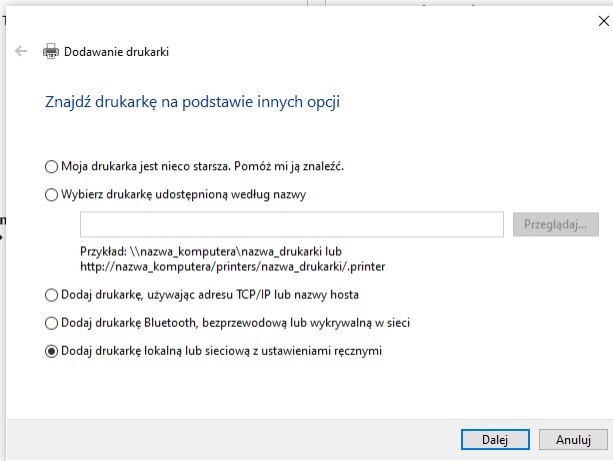
- In the next window please select: Add a local printer or network printer with manual settings. Click “Next”.
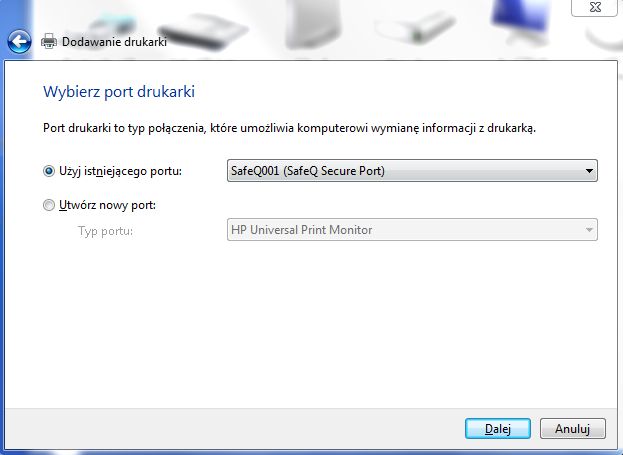
- Choose “Use an existing port” and select SafeQ001 (SafeQ Secure Port), then click “Next”.
- Choose “Have Disk” to continue the installation.
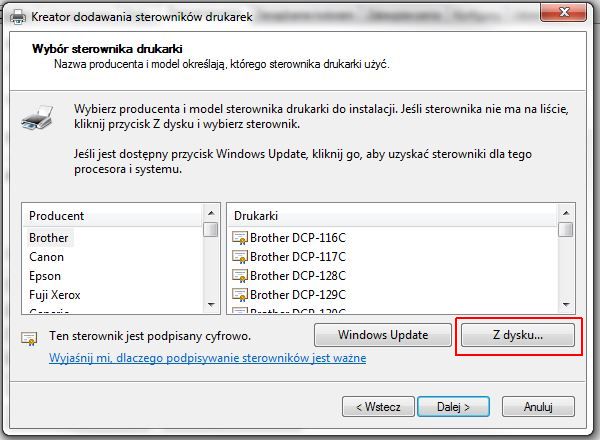
- Click “Browse” and locate the previously downloaded driver, then click Open.

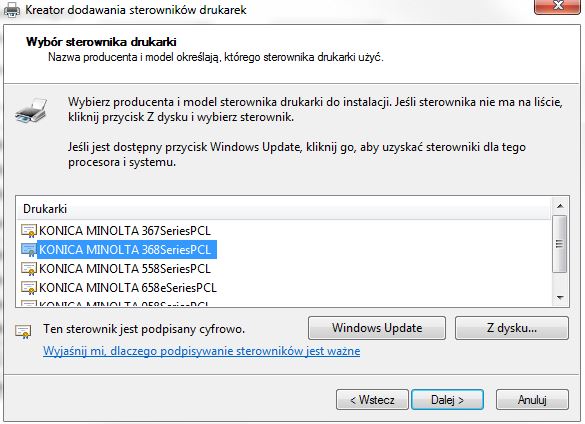
- Choose the printer from the list and click “Next”.
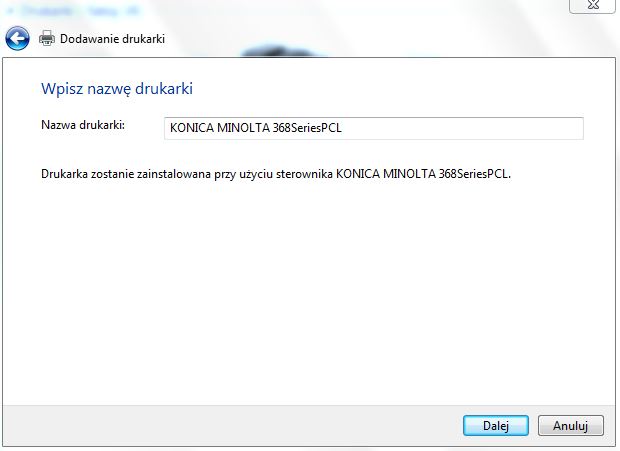
- Type your printer’s name or leave the default name.
- Make sure you leave the box “Do not share this printer” ticked.
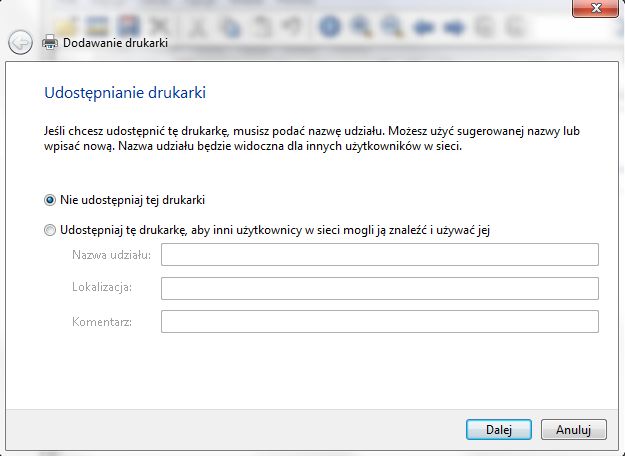
- If the printer is not to be default, untick the box.
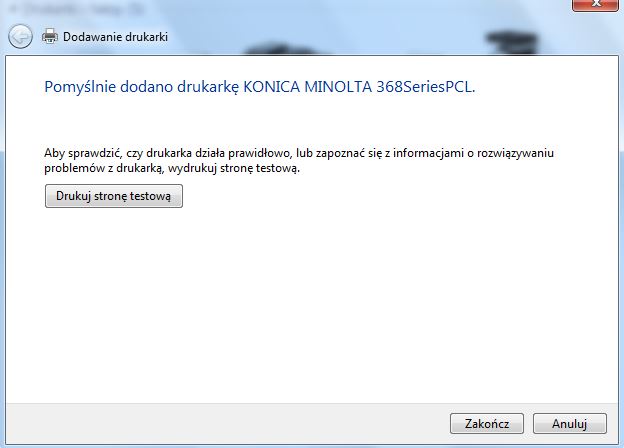
- You can now delete all the downloaded and extracted printer installation files.